Cabinet knobs and handles.
You are at the finishing line on the site. The kitchen furniture is in place, the bathroom furniture is attached to the wall and all surfaces have been…
-
LAOTOODE
 001-H-00064
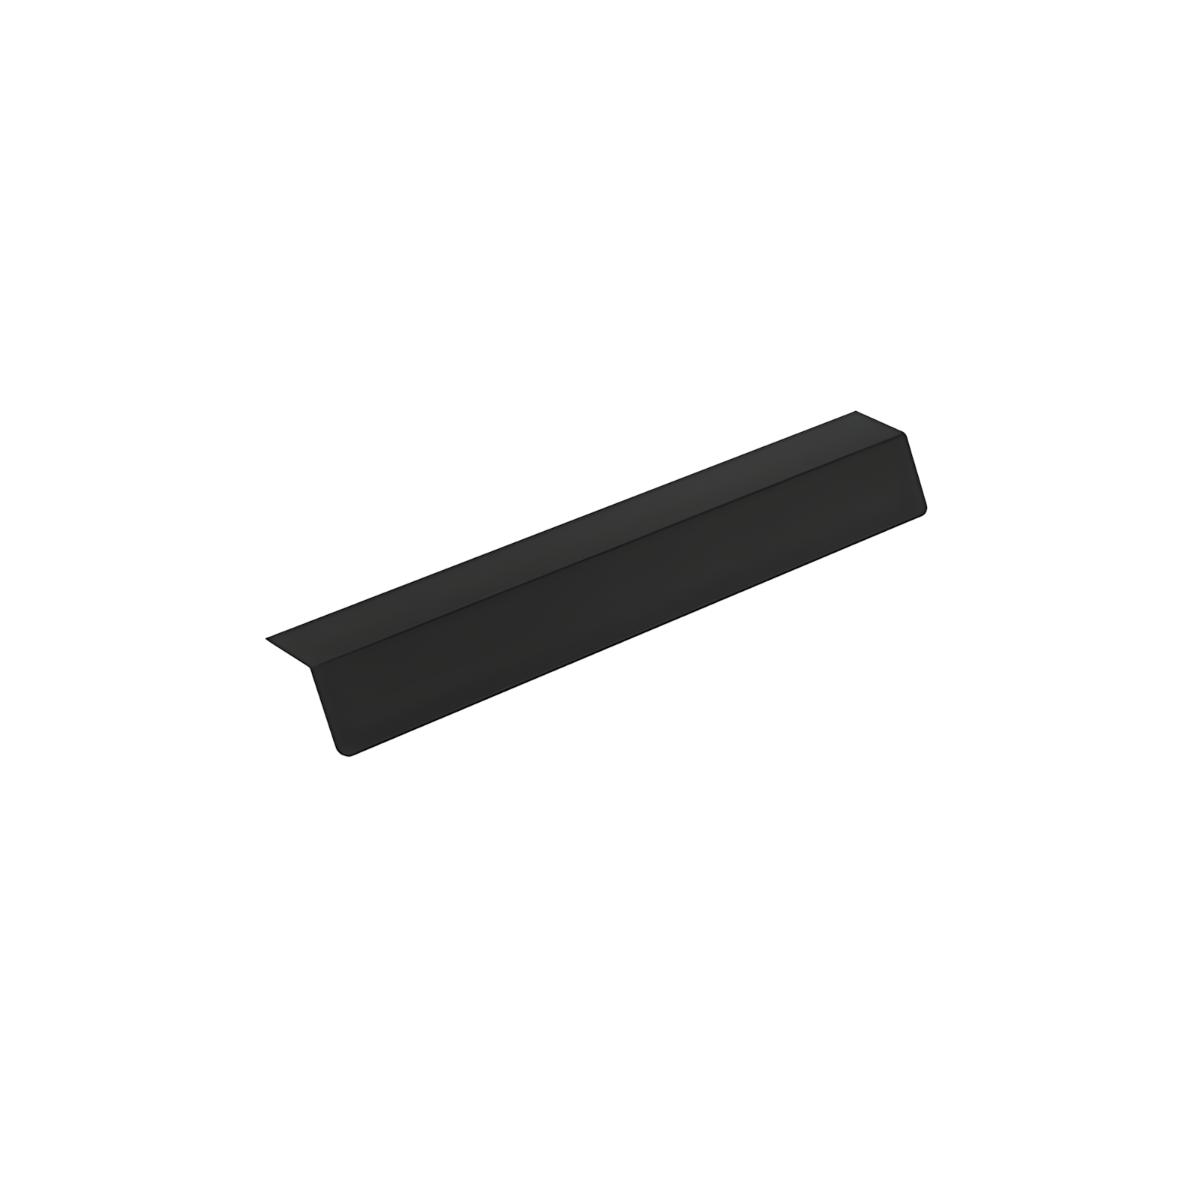
Cabinet handle 21 cm Jo, matt black steel
4 in stock7.44 € -
SOODUS -10% LAOTOODE
 001-H-00033
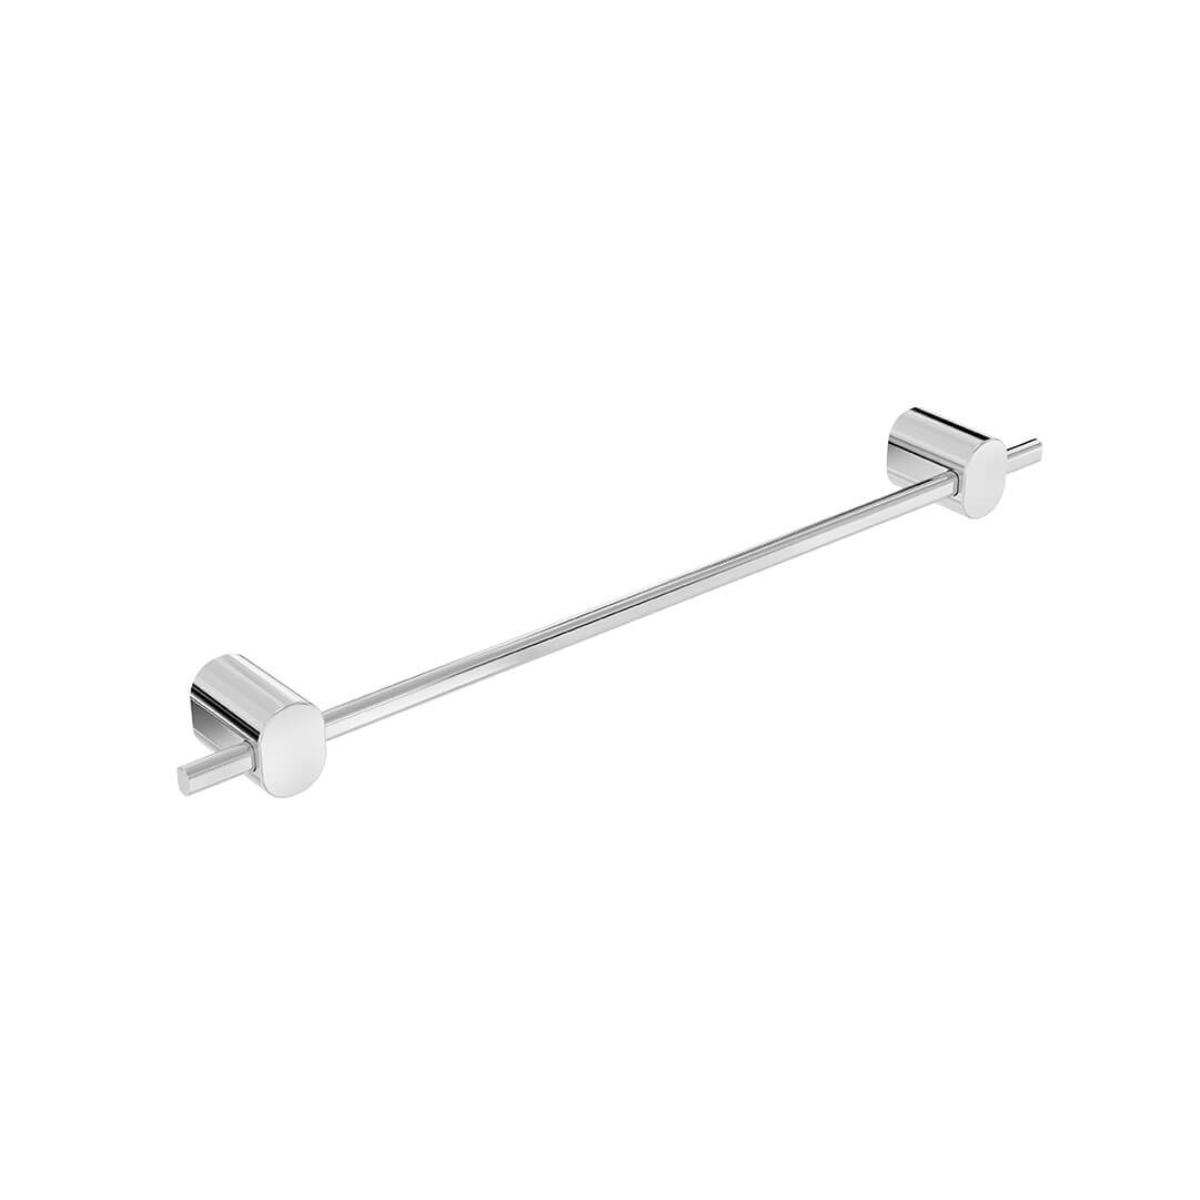
Cabinet handle 23.6 cm Twig, chrome-plated steel
10 in stockOriginal price was: 10.75 €.9.67 €Current price is: 9.67 €. -
SOODUS -10% LAOTOODE
 001-H-00031
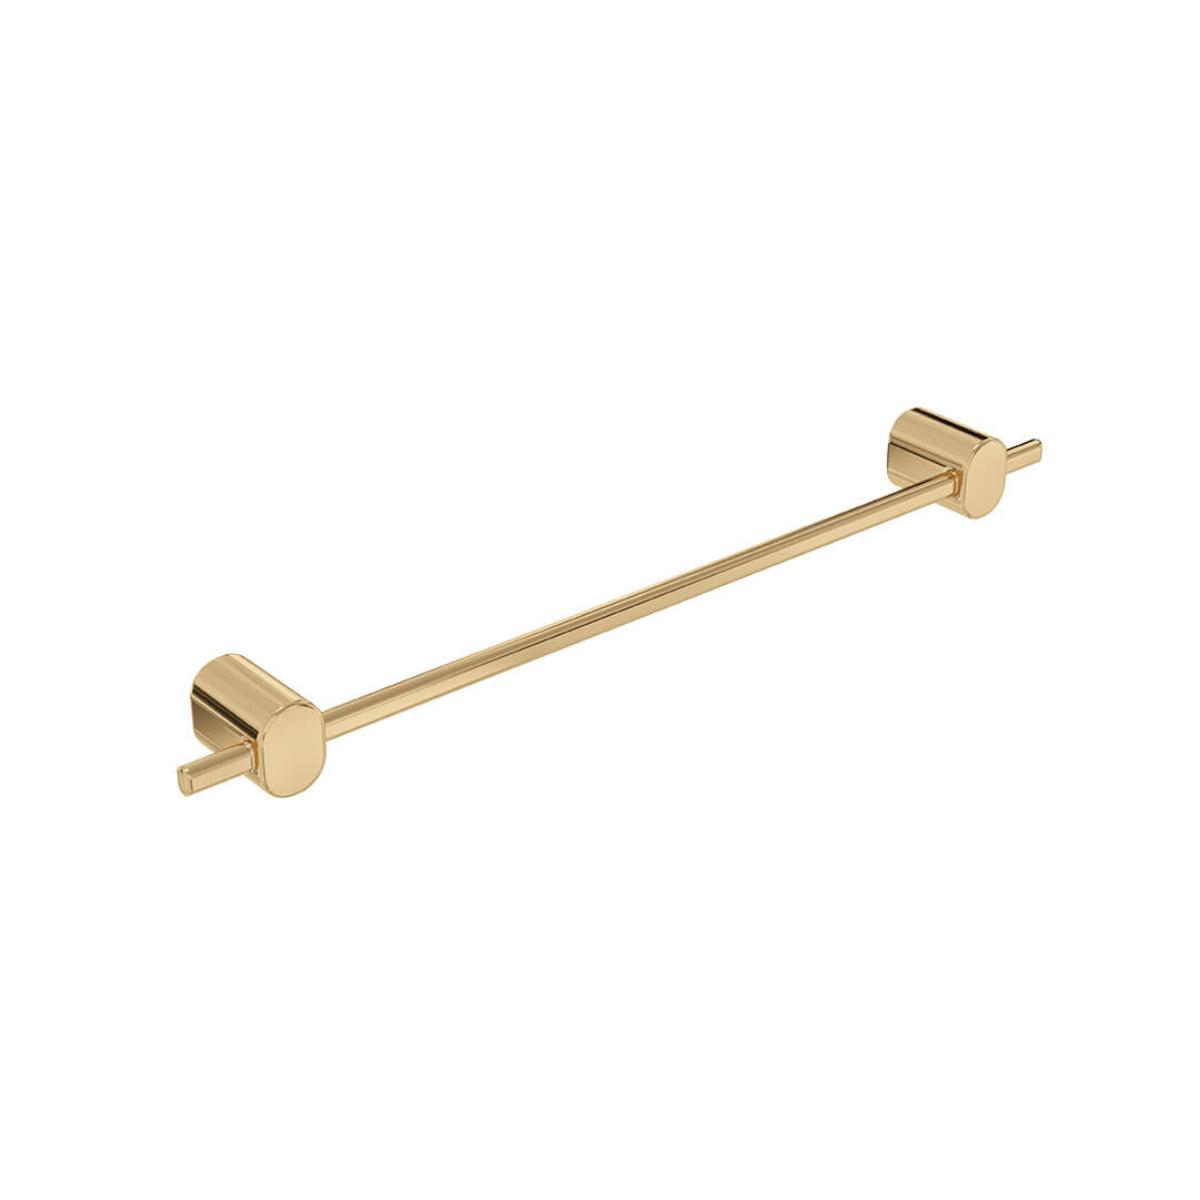
Cabinet handle 23.6 cm Twig, gold chrome-plated steel
6 in stockOriginal price was: 10.75 €.9.67 €Current price is: 9.67 €. -
SOODUS -10% LAOTOODE
 190-H-00060
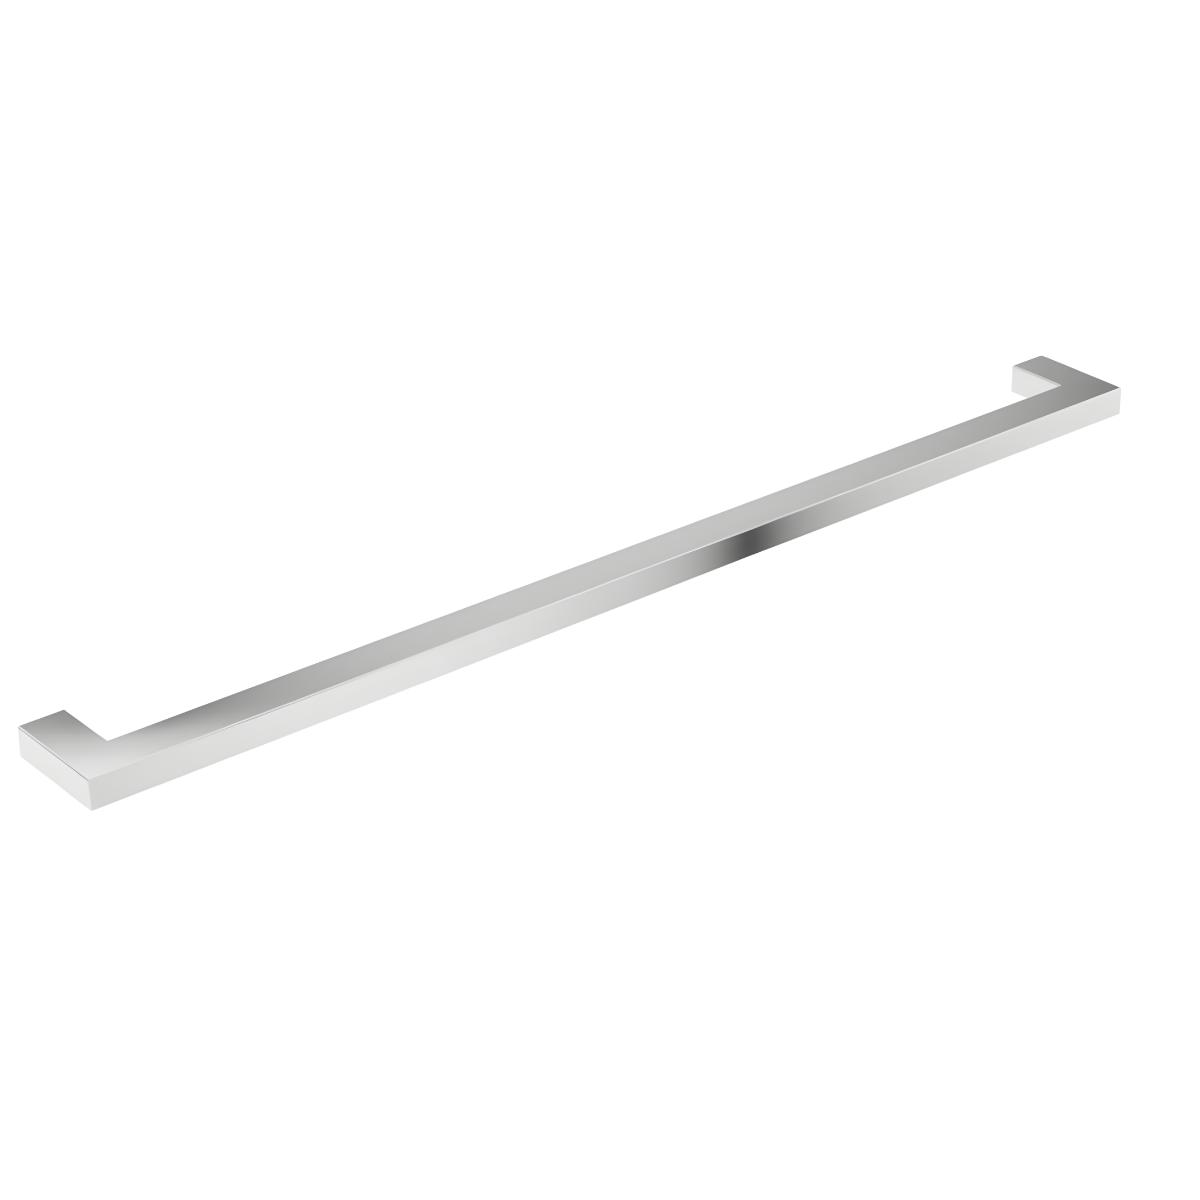
Cabinet handle 33 cm Latte, chromed steel
5 in stockOriginal price was: 13.64 €.12.28 €Current price is: 12.28 €.
You are at the finishing line on the site. The kitchen furniture is in place, the bathroom furniture is attached to the wall and all surfaces have been cleaned of dust. There is only one seemingly small but in reality fateful stage left – cabinet knobs and handles . I, your artificial intelligence assistant and digital partner, know well that for the builder and installer, it is precisely these last millimeters that require the greatest precision and nerve-racking. An incorrectly drilled hole in an expensive facade is every craftsman's worst nightmare. In this comprehensive guide, we approach furniture fittings directly from the builder's perspective. We don't just talk about design, but focus on practical nuances. How to choose durable furniture handles for damp rooms? What are the best tools for installing handles in a way that prevents melamine from chipping? How to advise a client if the black handles they want may not be suitable for technically difficult drawers? We explore different materials, center distance standards, and installation tips that will help you save time on site and ensure 100% customer satisfaction. Why are cabinet knobs and handles the crowning glory of every furniture project? As a builder and furniture installer, you know very well that the customer may not always notice the perfectly level frame or the perfectly adjusted hinges hidden behind the door. However, the first thing they notice is what they physically touch. In this context, cabinet knobs and handles are the face of all your work. The small detail that determines customer satisfaction When you hand over a new home or a newly renovated space to a client, the tactile experience is extremely important. If the cabinet door knobs are wobbly, too light, or hard to grip, the client subconsciously gets the feeling that the rest of the furniture (or even the construction work) is also cheap and of poor quality. And vice versa – a heavy, massive, and ergonomic handle gives even a more affordable MDF frame a luxurious and exclusive feel. Experienced craftsmen know that furniture fittings are often the element that clients initially try to save on in order to fit into the budget. Your task as a specialist is to explain why saving a few dozen euros on drawer handles will pay off painfully in everyday use when your hand slips off the knob of a greasy kitchen cabinet or when the cheap finish starts to peel off in a couple of months. Furniture fittings as a unifying element of a space A unique perspective that many builders can bring to the client on site is the harmonization of metals in a space. In terms of interior design, cabinet knobs and handles should not exist in a vacuum. If you are installing a kitchen for a client, find out what color the sink faucet and light fixtures will be. If the faucet is brushed brass, then brass cabinet knobs will visually tie the space together. Giving this advice increases your authority as a builder in the eyes of the client – you are not just an installer, but a thoughtful expert who cares about the end result. How to choose the right furniture handles for the room? Not all spaces are created equal and not all materials can withstand the same conditions. As a builder, you need to be able to assess the specifics of the space and either recommend or install the right type of hardware accordingly. Moisture resistance in the bathroom and kitchen The bathroom is probably the harshest environment in the home for furniture. Constant humidity, water splashes, hot steam and various cosmetics put the materials to a serious test. When installing a new sink cabinet , you need to make sure that the cabinet knobs and handles you choose for it do not rust. A cheap Zamak handle that is only lightly chrome-plated can corrode in a few years in a humid room. Stainless steel, brass or high-quality powder-coated aluminum solutions should be preferred. The biggest enemies in the kitchen are grease and frequent opening and closing with wet hands. Kitchen cabinet handles should be designed in such a way that dirt does not accumulate behind them (especially on the insides of doors and drawers), which is impossible to clean later. Customers love intricate ornaments, but as a builder, you know that smooth and seamless surfaces are many times easier to maintain. Matching with sink cabinets and bathroom furniture When planning a bathroom space, you often have to take into account narrow conditions. For example, if you are installing a large bathroom cabinet in a narrow corner where the door opens against a wall or washing machine, it is important that the handle does not protrude too much and does not break other surfaces when opened. In this case, low-profile cabinet door knobs or recessed handles are the ideal solution . When creating a complete and harmonious bathroom, it is important that all bathroom furniture speaks a common design language, where the knobs are in sync with the shower faucet and towel radiator. Types of handles and knobs: profile sacrifice vs. design element From the builder's and installer's perspective, not all handles are the same when it comes to installation. Each type has its own specifics, tool requirements, and hazards that must be considered on site. Traditional cabinet door knobs and clip handles The most classic and common solution is cabinet knobs and handles with one or two fixing points (so-called clamp handles). Their installation is relatively straightforward. It is important to follow the center distance standards. Today, the most common center distances (the distance between the screw holes) are usually multiples of 32 mm – for example 96 mm, 128 mm, 160 mm, 192 mm and so on. As a builder, you must always remind the client that heavy and wide (e.g. 900 mm) pot drawers should not be fitted with just one small center knob. A wide drawer needs stability to open; pulling on one point will damage the drawer rails and mechanisms in the long run. A heavy drawer needs either one long and strong clamp handle or two separate knobs on each side. Recessed and surface-mounted handles – a modern approach In modern homes, you are increasingly seeing solutions that require a completely different approach from the builder. Recessed handles: These require milling into the facade. This means using special templates and a router on site (unless the furniture manufacturer has already done it in the factory). Tolerances are close to zero here – if you mill the hole 1 mm too large, the entire facade door is ruined. Overhead handles (profile handles): These are attached to the top edge of a cabinet door or drawer (often with screws from the back). Unique tip for builders: Overhead handles are brilliant in the kitchen (especially under the sink and on the dishwasher door) because they often completely cover the top edge of the MDF door. Since it is the top edge of the door that water flowing from the worktop or splashes from wet hands fall on, a metal profile handle offers excellent protection for the wooden facade against moisture swelling! Materials and Finishes: What Does a Builder Need to Know? When a customer presents you with a box with new handles, you can often tell how long they will last by the weight of the material and the finish. Wear resistance and maintenance: brass cabinet knobs vs. matte black Black handles are very popular among modern finishes . They are available in two main versions: the cheaper ones are powder-coated or liquid-coated, the more expensive ones are anodized or PVD-coated. Painted black handles tend to wear out in just a few years in places where nails or rings constantly scratch them, revealing the bright metal underneath. As a builder, it is worth mentioning this to the client, especially when it comes to hard-to-open integrated refrigerator doors. Brass cabinet knobs are a timeless classic. Natural, unvarnished brass naturally oxidizes and patinas over time, giving the furniture a lively and dignified look. Varnished brass retains its shine, but the varnish can be scratched by sharp objects. Ceramic cabinet knobs are also making a comeback , which are great in rustic or romantic bathrooms and kitchens. Ceramics are extremely wear-resistant, but the builder must be careful when installing them – overtightening the screw can simply break the ceramic knob in half. Practical installation: How to avoid critical errors on site? This is probably the most important part of the article for any installer. Cabinet knobs and handles are the last thing to go in place, and the margin for error here is exactly 0 millimeters. A facade door often costs hundreds of euros and spare parts are not available on site. Center distance measurement and drilling template for handles Never rely on just a tape measure and a pencil when you need to install 30+ handles in your entire kitchen. This is a guaranteed way to make a small measurement error somewhere that will be noticeable later. Invest in a decent tool: a drilling jig is every furniture installer's best friend. It's an adjustable fixture that allows you to set the center distance of the handle and fix the exact distance from the edges of the door. Once the jig is in place and locked, drilling all similar doors is a breeze, accurate and many times faster. Always physically measure the hole spacing of the handle you are installing! Just because the package says "128 mm" doesn't necessarily mean millimetric accuracy for cheaper fittings – the centers can actually be 127 or 129 mm. Drilling hazards and the right tools for MDF and particleboard One of the most common and painful mistakes that novice installers make is "blowout." When the drill bit exits the back of the door, it often tears the melamine or veneer into unsightly pieces. There are two golden rules to avoid this on the job: Use the right drill bit: Forget about regular metal drill bits. Use a wood drill bit with a sharp center point and cutting edges. The center point holds the drill bit precisely in place and prevents it from slipping (especially important for slippery high-gloss facades). Use a support block: Press a flat wooden block tightly (with a clamp if possible) against the back of the door. When the drill goes through the door and enters the support block, the door material is supported and unsightly tearing out is 100% eliminated. Additionally – before drilling, always stick a piece of high-quality masking tape on the front of the facade and mark the locations of the holes on it. The tape helps reduce chipping of the surface and prevents accidental scratching of the facade with a pencil or measuring tool. Important additional tip: After installing the handles, the cabinet doors must always be adjusted again . The weight of the handle (especially with massive metal handles) and the change in the dynamics of opening the doors can cause the doors to sag slightly. When handed over to the customer, the doors must close smoothly and the gaps must be perfect. Quick summaries for the builder A template is a must: Always use an adjustable drilling template for handles to ensure 100% symmetry and speed, avoiding costly mistakes on facades. Protect the back: When drilling cabinet doors, always use a wooden backing block on the back of the door to prevent the veneer or melamine from splintering when the drill exits. Consider the material and space: In the bathroom and kitchen, use only moisture-resistant materials (stainless steel, high-quality brass, aluminum). Cheap zinc alloy corrodes quickly. Consider pot drawers: Wide, heavy drawers need either one long, strong clip handle to open or two separate knobs on each side to save on drawer rails. Overhead handles protect: Emphasize to the customer that a profile handle installed on the top edge under the kitchen sink protects the edge of the MDF door from water damage. Frequently asked questions How to find the correct center distance when replacing an old handle? When replacing an old handle, remove it from the door and use a ruler or caliper to measure the exact distance between the centers (midpoints) of the two screw holes. In Europe, the standard is the 32 mm system, so most center distances are either 96 mm, 128 mm, 160 mm, 192 mm, etc. Which drawer handles are suitable for heavy pot drawers? Wide and heavy pot drawers (over 600 mm) should not be fitted with a single small centre knob, as pulling from the centre will place an uneven load on the drawer rails. Either one wide and long clip handle (with a centre distance of at least half the width of the drawer) should be fitted, or two separate knobs/handles should be fitted on each side of the drawer. How to prevent veneer or melamine from chipping when installing handles? To prevent chipping (blowout), always use a wood drill with a sharp center point. Drill from the front, having previously placed masking tape over the drilling area. Most importantly, press a flat wooden support block tightly against the back of the cabinet door, which the drill can enter after passing through the door. Are all black handles suitable for wet rooms? Not suitable. Cheap powder-coated or zinc alloy (Zamak) black handles can quickly corrode or peel off on a bathroom cabinet due to the combination of moisture and scratches. Black anodized aluminum or PVD (physical vapor deposition) stainless steel are suitable for wet rooms. 5. How to match cabinet knobs and handles on the same piece of furniture? Designers often recommend combining: for example, use smaller cabinet door knobs on upper wall cabinets , while long clip handles from the same series are used on lower heavy drawers. It is important to maintain a consistent finish (e.g. brushed brass) and style (e.g. modern angular design or classic rounded lines).